Interior Painting Tips For A Professional-Looking Job
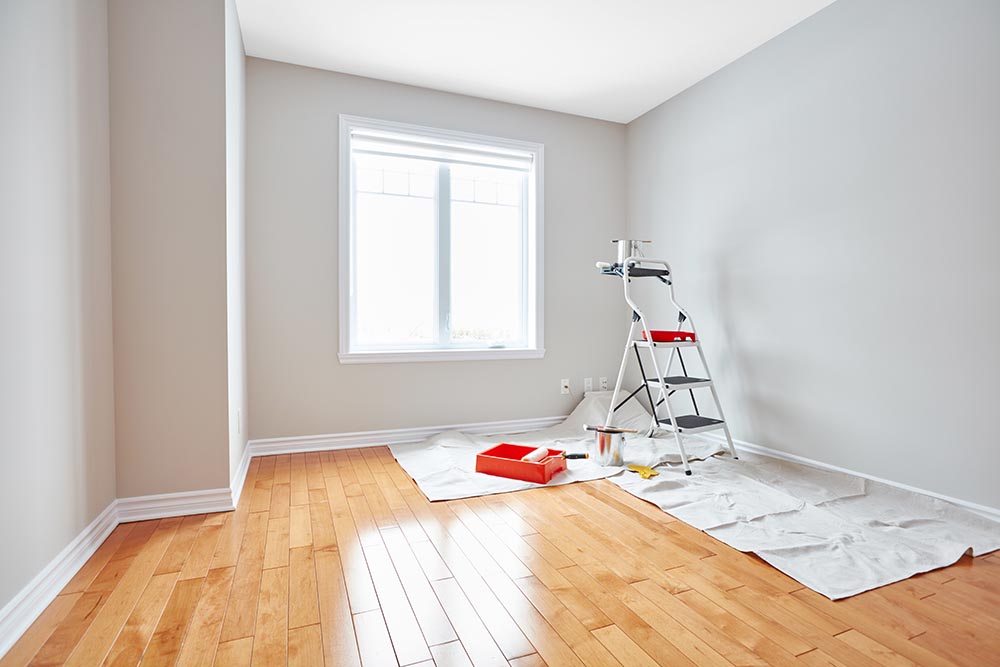
One of the great things about homeownership is that you can color the walls exactly the way you like. A good paint job not only looks good but can help to make each room feel distinct, different and even carry its own mood. While the easiest way to achieve this is by hiring the pros to come in and do the job, it’s possible to get similar results yourself, but only if you’re willing to follow these interior painting tips and paint as the pros do!
Weather Matters
If at all possible, paint your interior in accordance with the weather, specifically the humidity. A dry, hot summer day allows your paint to dry faster, while painting on a rainy day or week slows down the process. The same is true for winter when humidity is at extremely low levels. If you want your paint to dry faster, try to pick a time when humidity is low, and you’ll see better results.
Quality Has A Cost
This tip should be a no-brainer, but many people try to use short cuts for this. While it’s true that a poor musician blames the instrument, it’s also true that you won’t do your best work without good tools. If you want professional results, you must be willing to invest in quality paint, and then quality tools like brushes, rollers, and painter’s tape. You can try to save money buying cheaper products, but you need to make up the difference by being an exceptionally skilled house painter to get good results.
Remove Panels
This takes less than 10 minutes, but it’s an easy way to get a more professional look. Take the time when painting a room to remove the panels covering your electrical wall sockets and your light switches. Doing this ensures a smooth, unbroken look around these fixtures, which is a small, but professional touch.
Use Primer
Another obvious interior painting tip that many people forgo. The best results for paint with a smooth, even application across the wall calls for applying primer first. This is especially true when you’re looking at walls that haven’t been painted in years. Skipping this step considerably raises your risk of an uneven coat that looks more amateurish.
Trim, Ceiling, Walls
If you want to paint the way the pros do, there’s a specific order that makes your life easier. Paint the trim first, then paint the ceiling, and lastly paint the walls. Doing it in this way ensures that you get the best, neatest results. If possible, wait 24 hours before moving from one step to the next, but if that’s not possible, the trim and the ceiling can be done in one step, leaving the walls for last.
Of course, if you want professional results and you’re willing to pay for it, the best thing to do is bring in the pros! Contact Empire Construction Group, and we can help you with your home improvement and arrange for an interior paint job that you’ll enjoy for years to come in your home.

